A practical, hard-won walkthrough for gluing RC tires: prep the bead, pick thin CA or tire glue, use the band method, vent, and check your bond.
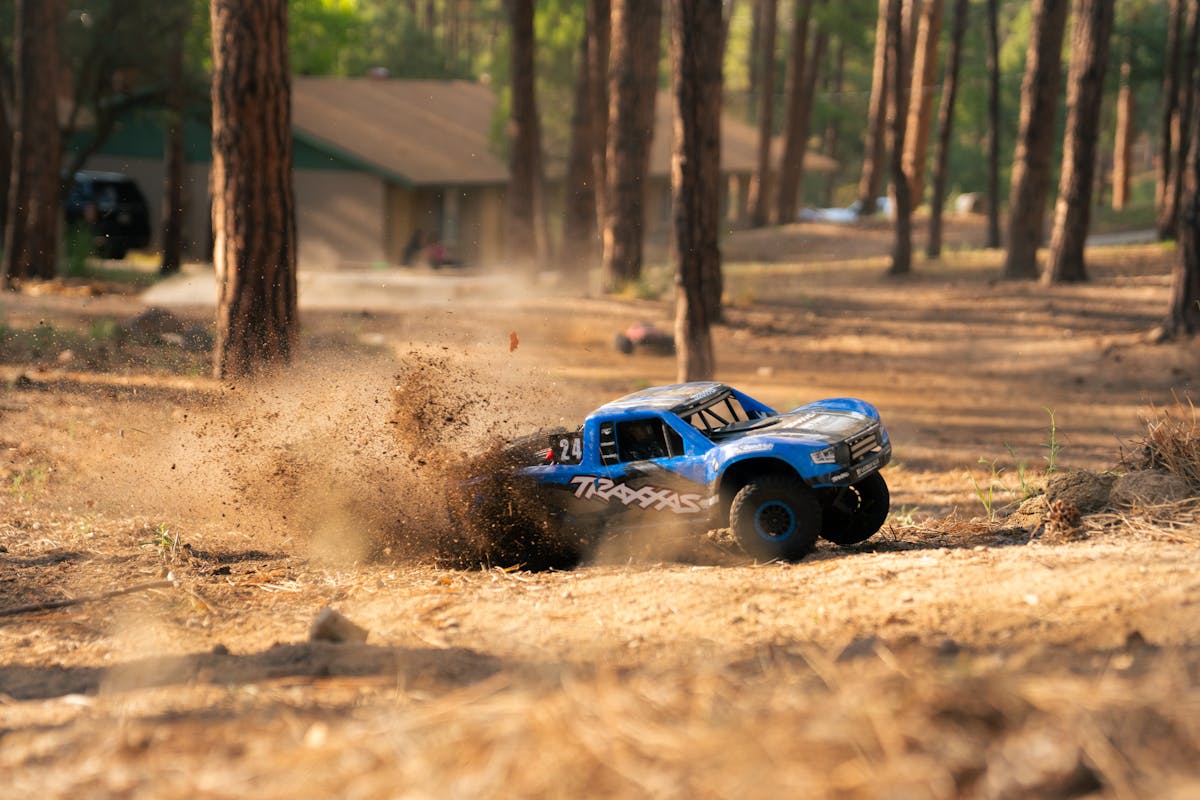
Gluing your own tires looks fussy until you've done a set, and then it's just a thing you do while the coffee's still hot. I've mounted hundreds of them across buggy, truggy, short course and on-road slicks. The glue part is easy. The prep is where every bad mount comes from, and almost nobody talks about it.
If a tire throws a bead at the track, ninety percent of the time it wasn't the glue, it was oil. New tires and new wheels both come with mold release on them, and CA glue hates mold release. It'll look bonded on the bench and peel like a sticker on the first hard corner.
Here's the routine I don't skip. Wash the wheels in warm water with a drop of dish soap, scrub the bead channel with an old toothbrush, and dry them completely. Then wipe the tire bead and the wheel bead with motor spray or brake cleaner, the non-chlorinated kind, since chlorinated stuff can haze some plastics. A quick blast on a rag and a wipe of the mating surfaces is enough. You're stripping oil, not soaking the tire.
Then scuff the bead. I run about 200-grit sandpaper around the inside edge of the tire where it meets the wheel, and lightly around the wheel bead too. You're not grinding, just knocking the shine off so the glue has some tooth. Wipe the dust off and you've got two clean, slightly rough surfaces.
People ask which glue and the honest answer is both work. I keep two on the bench.
Thin CA, the watery kind, is what I reach for most. Hardware-store Bob Smith Industries or a hobby-brand thin, it doesn't much matter. It wicks into the bead by capillary action, which is exactly what you want. The trick is using less than you think and letting physics pull it in.
Tire-specific glue from Pro-Line or ProTek tends to be a medium viscosity that's more forgiving if you're new, since it doesn't run everywhere the second you tip the bottle. It costs more per gram. If you glue two sets a year, buy it. If you're mounting for a season of racing, thin CA by the ounce is cheaper and I like the control once you have the feel for it.
Skip the gel. Gel CA is great for plenty of things but it doesn't wick, so you end up with a thick bead in spots and nothing in others.
Getting even glue penetration is the trick, and the easiest way I've found is the band method. Slip the tire onto the wheel dry, then stretch a couple of rubber bands (or the little tire bands sold for this) around the tire so they pull the sidewall in and open the bead. The tire lifts away from the wheel just enough to give you a gap to feed glue into.
Then glue in sections. Tip the bead open a little with your thumb, run a thin line of CA right where the tire meets the wheel, and let it wick around. Rotate a quarter turn, press that section down, do the next quarter. Work around both sides. Capillary action does most of the pulling, so your job is to feed it a little at a time and keep the bead seated as you go.
Working in sections is how you avoid the two classic failures: a puddle that oozes onto the tire face where it'll never wear off, and a dry gap on the far side you didn't notice because you dumped it all in one spot.
You will do this once. You'll pinch the bead closed with your thumb, the CA wicks a hair further than you expected, and now your thumb is a structural component of a 1/10 buggy tire.
Keep debonder or plain acetone within reach and peel slowly rather than ripping. Fingernail-side pressure and a little acetone and it lets go. Thin nitrile gloves help a lot and I wish I'd started wearing them years sooner. Work over something you don't care about, because a drop of thin CA finds the good table every time.
Most foam-insert tires want a vent hole or two, and a lot of racers add them if the tire didn't come with any. As the tire heats up and compresses in corners the air inside needs somewhere to go, otherwise it balloons and the tire feels vague and floaty. A pin or small drill bit through the tire near the bead, one on each side, does it. If your tires already have molded vents, leave them alone.
Before you call a tire done, check the bond. Run a fingernail around the entire bead on both sides and try to lift it. If a spot gives, that's an unglued section, so open it with your thumb, wick a little more thin CA in, and hold it a few seconds. Better to find the gap on the bench than in the middle of a main.
I glue my own because I'm picky and I run a lot of different compounds. But if you run a stock Traxxas basher and go through a set every few months, pre-mounted tires are worth every penny. Traxxas, Arrma and most of the big brands sell their popular tires already mounted and glued, and they're mounted better than a rushed job at 11pm. No prep, no acetone on your thumb, bolt them on and drive.
DIY wins on racing and variety, when you're trying JConcepts against Pro-Line compounds, running a specific tire your class requires, or just not wanting to buy a whole new wheel every time. If you're buying and selling gear anyway, keep an eye on the used listings, because mounted wheelsets in good compounds move fast and cheap there.
Sometimes you want the wheels back, not the worn tire. There are two ways to get an old tire off.
The patient way is an acetone bath. Drop the mounted wheel in a sealed jar of acetone for a few hours, or a day for a really good bond, and the CA gives up. Acetone can soften some wheel plastics if you leave it swimming for days, so check on it and don't forget it in the garage over a weekend.
The fast way is heat. A heat gun on low, warm the bead, and the CA softens enough to peel the tire off while it's hot. Work quickly and mind your fingers, because warm rubber plus warm plastic is still warm. Either way, clean the old glue off the wheel bead before you remount, which puts you right back at the prep step.
Once you've got a set mounted, go dial them in. Match your fresh tires to a proven baseline in the community setup sheets for your car, and if you want the routine that keeps them and everything else alive between runs, read the post-run maintenance guide next.