Paint a polycarbonate RC body the right way: prep and scuff, mask the windows, use real lexan paint, spray light coats, back it with silver, and peel.
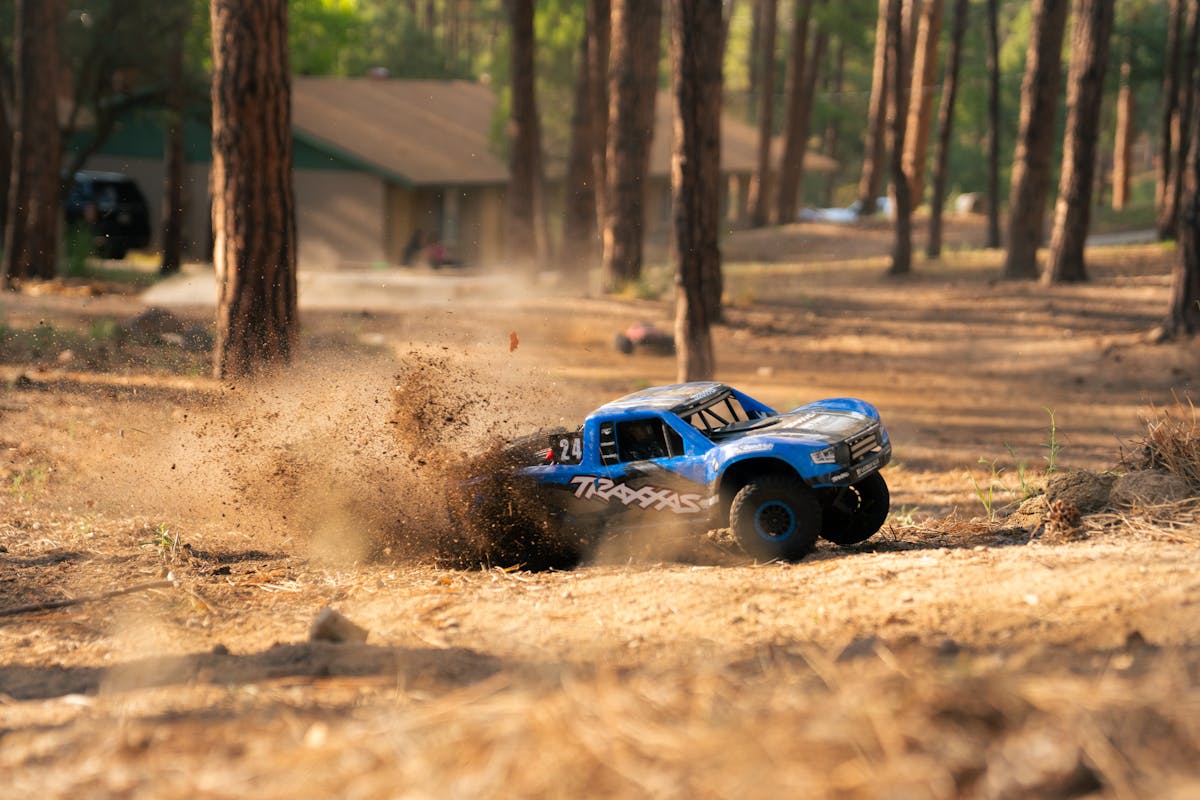
Painting a clear polycarbonate body is one of the most satisfying jobs in this hobby and one of the easiest to botch if nobody's told you the two or three things that actually matter. The first time I did it I used a hardware-store rattle can on the outside of the shell, drove it once, and watched the paint peel off in sheets like a sunburn.
So here's how I do it now: the prep, the paint, the order of colors, and the moment you peel the mask off.
This trips up everyone coming from painting anything else. On the clear shell your body ships as, the shiny hard side is the outside and it stays bare. All your paint goes on the inside. The plastic itself becomes the glossy clearcoat protecting your work, and the color is sealed behind it where rocks and dirt and your own driving can't scratch it.
It also means you paint in reverse. The first color you spray is the one you see most, so detail lines and logos go down first, then your base color over the top of everything.
Fresh lexan comes coated in mold release, same as tires do, and paint hates it. Wash the inside of the shell with warm water and a drop of dish soap, scrub gently with your fingers or a soft rag, rinse and dry. Don't skip this because the body looks clean, because it isn't.
Then scuff the inside, lightly. A gray Scotch-Brite pad or some worn 1000-grit, a few passes to knock the gloss off the interior surface so paint has something to bite. You're hazing it, not sanding through it. Wipe the dust out and try not to touch the inside with bare fingers afterward, since skin oil is just more release for the paint to reject. I keep a box of nitrile gloves on the bench for this.
Now mask the windows. Most bodies come with precut window masks in the bag, or a sheet of overspray film you cut yourself. Stick those on the outside of the glass areas so those spots stay clear, and take your time pressing the edges down. Any gap and paint creeps under, and you've got a fuzzy window line forever.
For a plain one-color body you barely need to mask anything past the windows. For a two-tone or a real design, you've got two options.
Tape is what most people reach for. Regular masking tape lifts fine, but I like automotive fine-line vinyl tape, the thin blue or green stuff, for curves. It bends around a fender without wrinkling and gives a crisp edge. Burnish every edge down hard with a fingernail or a plastic card, because paint follows any lifted edge like water finds a leak.
Liquid mask is the other route and it's better for complex work. You brush or spray a coat of it (Parma Faskolor and Spaz Stix both make one) over the entire inside, let it dry to a rubbery film, then cut your design into it with a sharp hobby knife and peel away only the sections you want to paint. Use light knife pressure, you're cutting the film and not the shell. It's slower up front, but for flames, splits, anything with a lot of shapes, it beats laying down forty pieces of tape.
This is the one that cost me a body. Normal spray paint, Rust-Oleum or Krylon or whatever's under the sink, does not flex with lexan. The shell bends every time it takes a hit and rigid paint cracks and peels off it. You need paint made for polycarbonate, which stays flexible and bonds to the plastic.
Tamiya PS spray cans are my default, with a huge color range and even coverage. Spaz Stix is the other big name, and if you want real mirror chrome or a candy or a color-shift, they own that space. Nothing else looks like their chrome sprayed over a black backing. Pactra RC lexan paint is the old reliable if you can still find it locally. Any of those and you're fine.
Spray light. The mistake every beginner makes is trying to get full color in one wet pass, which pools, runs and dries blotchy. You want three or four light dusting coats with a few minutes between each. The first pass will look thin and streaky and that's correct, so don't panic and flood it.
Order matters because you're working inside-out. Lay down the fine details and light colors first, since they'd get buried if you did them last, then your main body colors, and save the darkest color for last because dark buries everything under it. It takes a project or two to feel natural.
Then back the whole thing. Once your colors are down, spray a solid coat of silver or white over the entire inside as a backer. That's what makes the colors read bright and opaque instead of translucent and dingy when light hits the finished body. Skip the backer and even good paint looks washed out. Silver gives a little metallic pop and white gives the truest colors. I use silver most of the time.
Let it cure. I give a body a full day before I touch the masks, longer if it's cold, because polycarbonate paint stays soft for a while and you'll fingerprint a fresh finish. When it's ready, peel the window masks and overspray film off slowly from a corner, pulling back on themselves rather than straight up.
If a little paint crept under an edge you can usually clean it off the clear glass with a toothpick or a dab of the right thinner on a cotton swab, being careful not to touch the painted areas. Then trim your overspray and mount your body posts.
I paint my own bashers and my simple stuff and I enjoy it, but I'm honest about the ceiling. A multi-color fade, real airbrush work, candy over chrome, a clean sponsored-truck replica, that's a different skill plus an airbrush plus a lot of masking hours, and a good custom painter will turn out something I simply can't. If you want a showpiece rather than a Saturday project, it's money well spent.
If that's where you're leaning, browse the custom paint directory to find someone whose style matches what you're after, and read the walkthrough on commissioning a custom body so you know how to brief them and what a fair price looks like. Either way, once your body's on, post the build in your garage. Clean paint deserves to be seen, and it's the fastest way to get honest feedback before the next one.